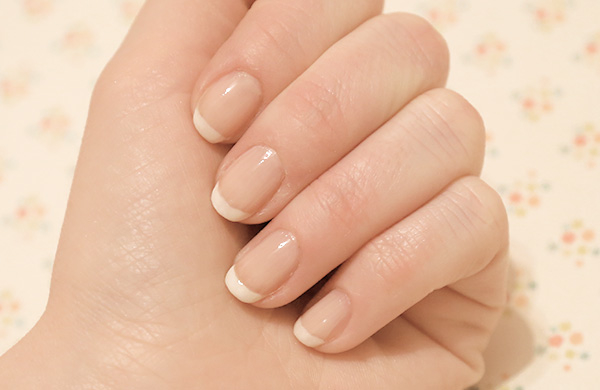
We ladies love a nail trend. We've tried everything from stencilling to stamping. But as a gentleman recently pointed out to me, there is a lot to be said for the simplicity of a French manicure, or 'lady-paws’ as he calls them. So here are eight easy steps for creating your own French Polish at home.
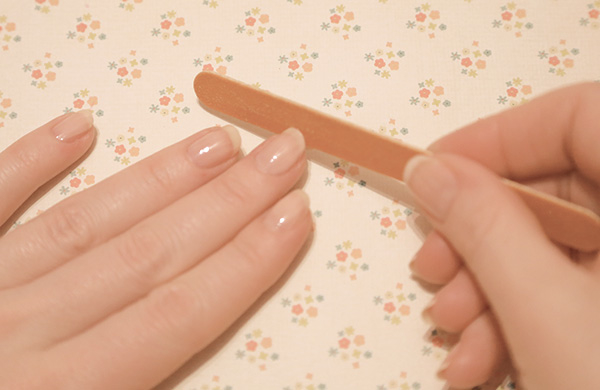
1. Begin by filling your nails. Avoid sawing back and forth. It’s best to file in one direction, from the outside in. This helps prevent splitting.
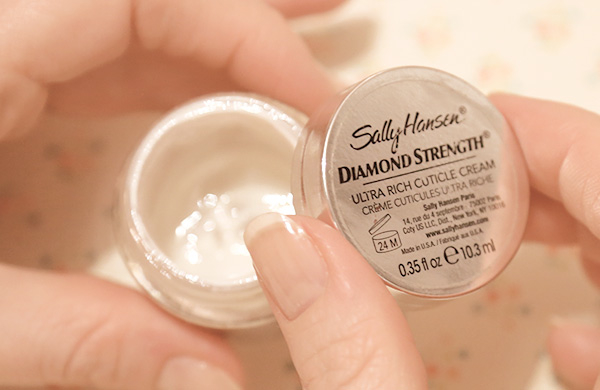
2. Apply some cuticle cream to the nail bed. I use Sally Hansen Diamond Strength Ultra Rich Cuticle Cream.
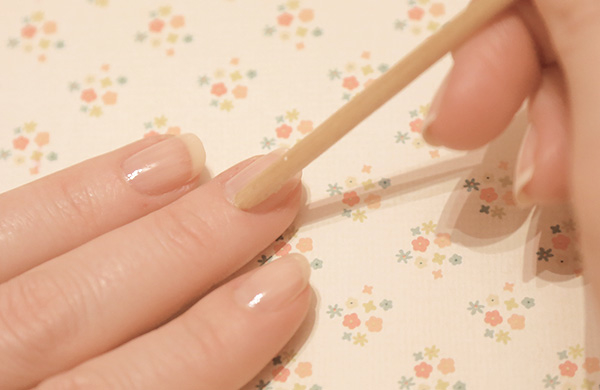
3. Take an orange stick and gently push your cuticles in. The cuticle cream will have softened the area so this should be easy enough and it shouldn't hurt. Wash you hands and nails with soap and warm water to remove the residue from the cream. Now you're ready for the polish application.
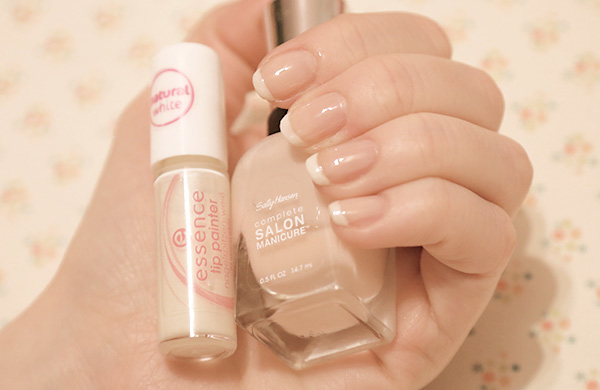
4. Paint two thin coats of your favourite French Manicure base colour. I’m using Sally Hansen Complete Salon Manicure in Arm Candy. It's a nude, sheer pink. Make sure it's completely dry before going to the next step. There is nothing as frustrating as starting from scratch after a smudge.
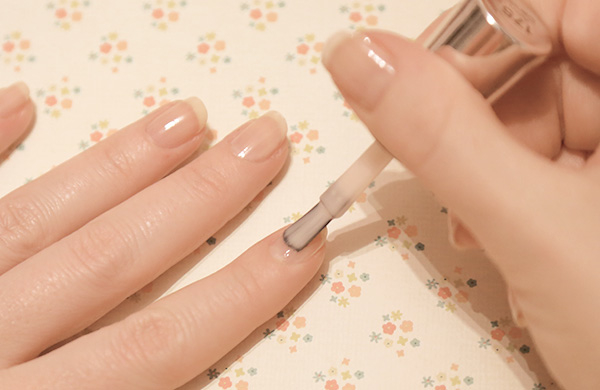
5. Next apply the tip. You have two options here: freehand or a guide. I use a combination. I'm right handed so I can manage painting my left hand freely but when it comes to the other side, I need a tip guide. I use Essence French Manicure Tip Guides, which are very cheap.
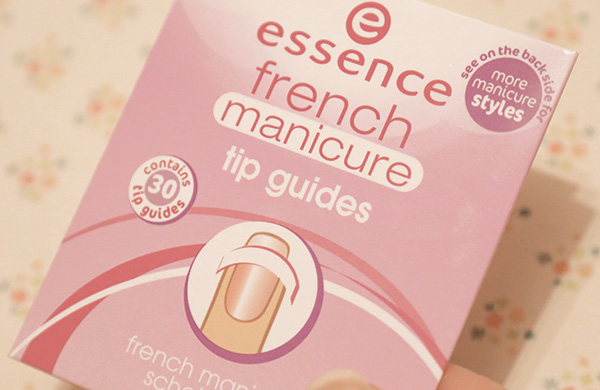
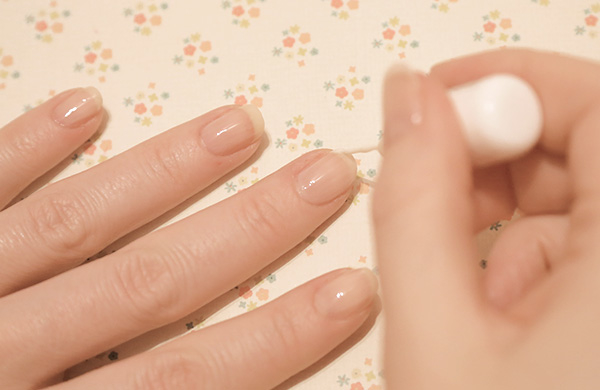
To paint the tips I use Essence Tip Painter in Natural White - they also have a pure white version. If you are painting the tip yourself I find it best to paint in three strokes, from the outside to the centre of the nail, repeat on the other side and then a final swipe to even it out. Avoid using too much polish, it can be tempting to apply loads for good coverage but unless you have two hours drying time I would opt for thin coats. As for the shape, avoid straight lines or semi-circles. It's best to mimic the crescent moon shape of your nail bed.
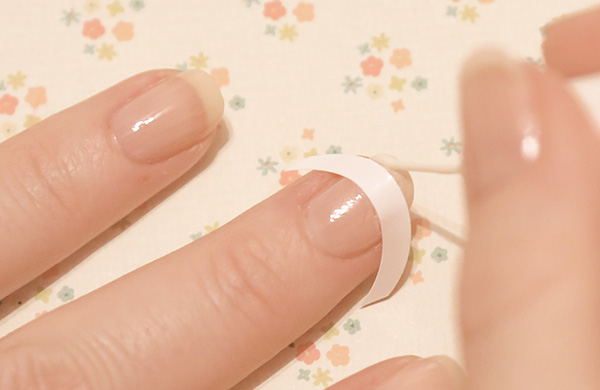
If you're using tip guides apply them to your nails before you begin as it's incredibly fiddly to do with wet talons. Press them on well so no polish seeps under. Apply your tip colour and allow them to dry completely before peeling back the guides. Do this as gently as possible to avoid upsetting the polish.
8. When your nails are completely dry follow with a topcoat. This doubles up as shine provider and protector. It's worth spending time on this step otherwise you're French tips will have chipped by bedtime.
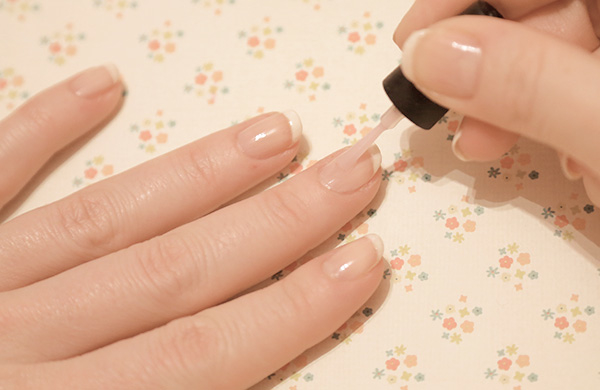
Et voilà! Perfectly natural French tips in no time.
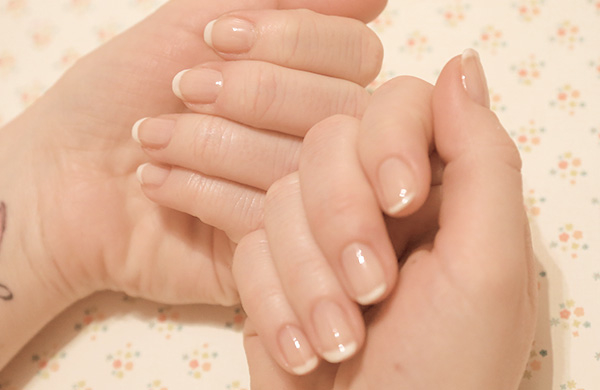
Now if you're one of those ladies who has neither the time nor the patience for doing this yourself, pop into a good nail technician. You'll walk out the door with groomed lady paws and probably and feel more chilled. My favourite spot is the Nail Bar in the Jervis Centre (Unit 9 /10, Jervis Street Shopping Centre, Jervis St, Dublin 1). All of the products I mentioned are available from Boots (Units 9/10 Jervis Street Shopping Centre, Dublin 1) with the exception of Essence which you will find in Penneys (47 Mary Street, Dublin 1).
Amy xo
____
Click to see our Dublin nail bar deals.


